The post-Fair crafting daze has definitely lifted. Here’s what I’ve been working on the last two weeks:
1. Knotted fleece blankets for my Mom’s cats
While not the most challenging of projects, this is something fun to do while watching tv. It’s also a nice, quick project for pretty instant gratification. Plus, the cats love them, and my Mom requested them. I made two:
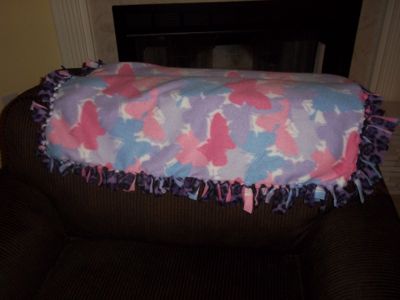
and
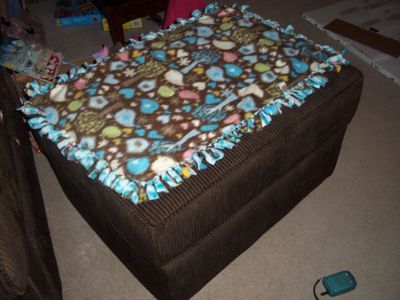
2. Twirly ribbon wands
Early in December, Anya was invited to a birthday party, and for a gift she picked out a ribbon wand thingy from the cool toy store. This was no ordinary stick with ribbon stuck on it; this was something out of rhythmic gymnastics. It swirled, it twirled, and most of all it made the kids OOOO and AHHHH. I remarked to one of the other parents there that surely it couldn’t be too hard to make one myself. So, I do what we all do, and I went to google and started looking around. I found several pages that I mixed together a bit including this one and this one.
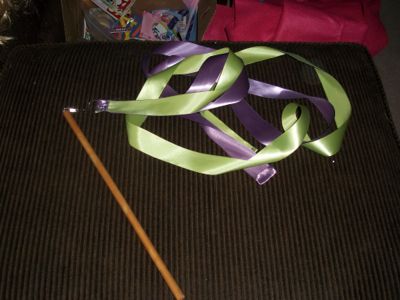
Right now I only have one dowel made, but I have about a dozen ribbon parts mostly done. I’ve been experimenting a bit with different rings and swivels, and I think I’ve found the one I like best. I am a bit concerned that the little pokey bits on the swivel doohickey will snag the ribbon, but so far it hasn’t. That type of doohickey saves me having to use two rings, and they seem to be a bit cheaper.
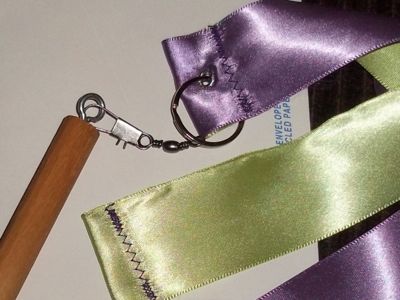
3. Owl crewel piece (in progress)
Crewel is like embroidery but you use wool thread, which is like wee tiny baby yarn. This is a craft I tried out for the Fair and decided I really like, and my parents got me two kits for Christmas.
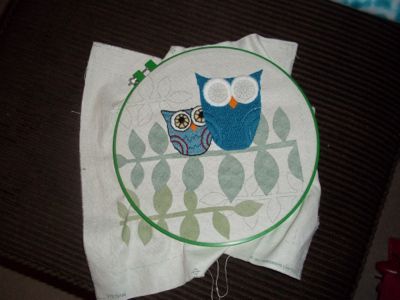
As I was working on this piece yesterday, it occurred to me that it wouldn’t be all that hard to draw my own design, use some iron-on transfer paper or something, and make my own crewel pieces. Now the wheels are turning…
4. Corn starch and baking soda Christmas ornaments
I re-pinned an item on Pinterest for these ornaments and figured I’d give them a try. Before I got started, though, I did a little googling because the directions lacked a wee bit of detail. All it said on the pin was to mix the two ingredients together and then WHAMMO! Clay! I had doubts. I found a neat blog that compared salt dough clay and cornstarch clay and also had complete directions.
I mixed up the clay, and all was great until I tried to roll it out. There is something about the feel of this stuff that makes me bonkers. I tried and tried, but I couldn’t touch the stuff. Thankfully, Andy was immune, and he and Anya got the ornaments cut out and on the tray.
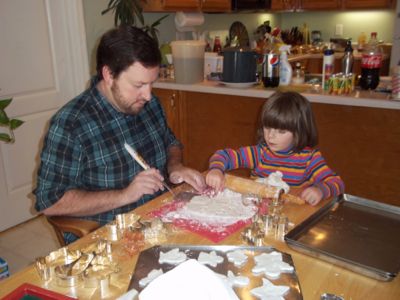
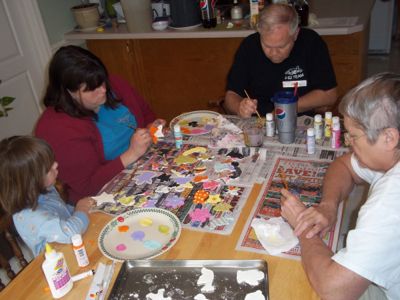
To get the ornaments baked all the way through, we had to flip the ornaments over and put them back in the oven for a bit. A few on the bottom rack got a bit toasted and crinkly on the back. The top surfaces, though, were a joy to paint on. And luckily the finished material did not make my fingers scream. We all had a great time painting (except for my brother, who was at work, poor guy).
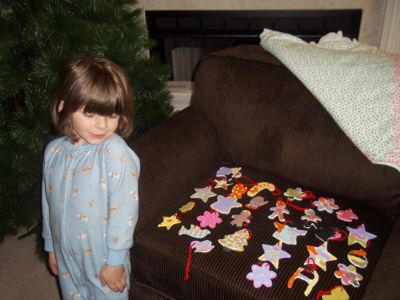
My best piece of advice for these (other than making sure you have complete directions) is to not make a double batch unless you are planning to give a bunch away. It doesn’t really seem like all that many ornaments until you start trying to put them all on the tree.
5. Bean bags
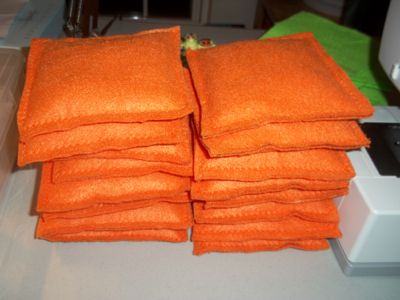
Felt is fun. I learned this about a month ago when I found a great book for making pincushions. I dug out a huge bag of felt I’d purchased quite a few years ago when I was hit with a strange urge to make a felt flower (with all the parts) for Master Gardeners. The felt, which I had for some odd reason bought a ton of, was in crazy bright colors: caution orange, electric green, and hot pink. These are not colors I really normally work with, and I couldn’t think of how to use them. Then one day at school, the yoga and movement teacher mentioned in passing how she would like to have some bean bags. AHA!
I realize bean bags aren’t super complicated, but I wanted a little research under my belt before I started. Did you know that if you search on “bean bags,” most of the hits will be for bean bag chairs and most of the rest of the hits will be for making the thingies you throw bean bags at for bean bag toss games. (Maybe that’s because bean bags aren’t super complicated?) I did find a few folks who wrote about how they made their bean bags, and of course I decided to not do anything the same way.
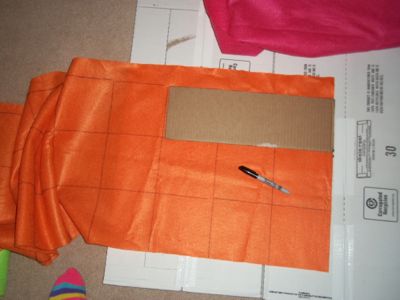
First, I made a template and traced the squares onto the felt using a sharpie. My squares were 5.5″x5.5″, but I made the template 3 bags long and traced in a grid sort of pattern. (I suppose I could have used a ruler and cut without marking, but since I sent my new rotary cutter home [does it even work on felt?], this seemed the easier route.)
Next, I used a zigzag stitch to sew up three of the sides. Since felt doesn’t ravel, I didn’t need to worry about sewing the right sides together and turning the pocket out to hide the seems. Plus, I kind of like the way the zigzags look.
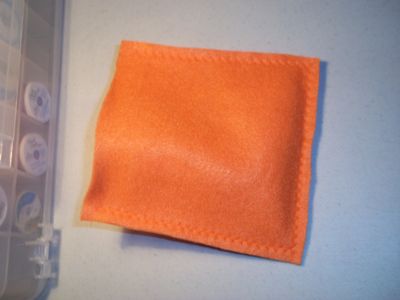
Then, I filled each bag with 3/4 cup of rice. (Does that make them rice bags instead of bean bags?) I picked rice after it was recommended for one of the felt pincushions that started this whole shabang. It has a nice weight to it, and it doesn’t hurt too much when your kid flings a bag into your nose.
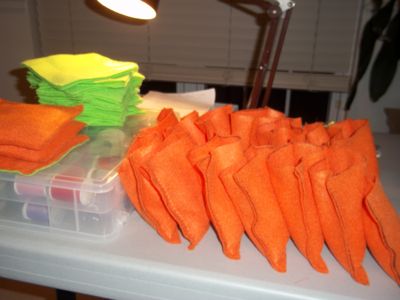
Finally, I sewed up the last side, trimmed the threads, and made the edges more even. Ta da! I’ll make the electric green ones tomorrow!
