Some of the folks in my crafty group did a gift tag swap again this last Christmas. I wanted to do something different, and at first I was thinking of crocheting snowflakes to decorate the tags. The idea of making all those leetle things with leetle threads and leetle hooks made me want to cry, though. Then Anya started bugging me about getting her some scratch art cards.
Do you remember scratch art? When I was in elementary school, we’d make our own by coloring with rainbowy colors on the paper and then covering the whole thing with a thick layer of black crayon. Then we’d scratch off the black crayon to make a design in the colors below.
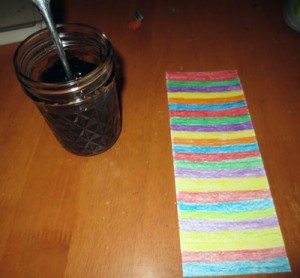
I hunted around pinterest until I found a recipe for DIY scratch art that used paint instead of black crayon. I thought that would make a more finished surface. Using this method, you start the same way as we did as kids: color on paper with rainbowy colors. Then, you mix up a batch of black tempera paint with a few drops of dish soap and slather it on.
When I first tried this project, I cut my cardstock so I would be able to get two tags out of the piece. Then I colored the whole thing. Then I cut the tags using a nestable die cut thingy and my sizzix.
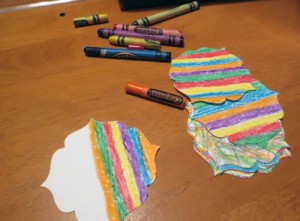
I quickly realized that I was coloring WAY more card than I needed to color. I also found that if I waited to cut the tags until after the painting the black on top, there was a white edge around the tag where the die cutter pushed the paint off. And I got paint on the die. SO, I cut all the tags before doing any coloring or painting.
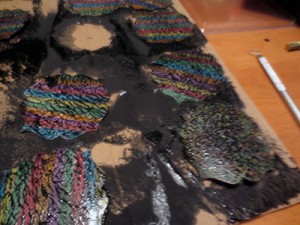
For the black paint, I tried a foam brush, but it didn’t work so well. In the end, a small roller with a short nap worked best. The first coat of paint didn’t cover much and left neat ripples. Andy really liked this look, and perhaps something could be made with it in the future. Anyhow. I discovered that the easiest way to apply the paint was to roller over this way and that until all the tags were covered. Then I used a pointy tool to lift the tags up from where they were sitting and moved them to a clean/dry area of cardboard. When I left them where they were, they stuck to the cardboard.
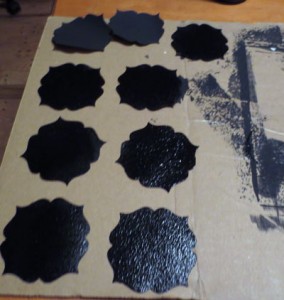
It took four or five coats to get the results I wanted. After everything dried, the ripples/texture was gone and the surface was smooth.
To finish the tags, I cut dark red cardstock using a nestable die one or two sizes up, added a few dots with a metallic sharpy for a little details, and then adhesived the pieces together.

Here is my test tag. I found a pointy toothpick worked well to scratch out the design, but the tip needed to stay pointy. If it squished, the toothpick didn’t work very well. The weird squiggle thing was me trying to draw a pine tree. I think my scratch art penmenship may need a little practice.